Martin Christie –Digital Imaging Lead Colourfast
A lot of new stuff arrived from Adobe at the end of April with their Max conference in London - too soon for our deadline last month for me to do more than a brief look at some of the features. Now with a little time and practice I can dig a little deeper.
Pleased to report that now AI is no longer a novelty, the hype about how it’s going to revolutionise everything has died down, we can inspect the more practical applications, and how we can benefit from them in our own workspace. We don’t make artificial creations, we have to produce very real ones on paper rather than fantasies in the cloud. I’m just going to concentrate on a couple here as space allows, and provide links for others, and more in depth examples below .
I will also underline that while it’s great to have these aids it’s important to understand how they work, and how to apply them, so that you can use them quickly to make major or minor adjustments to image files going to print.
 I see so many online tutorials where landscape photographers will go to extraordinary lengths to get the sunset on the mountains just that right shade of bronze, but very few quick fixes for those who don’t have the time or the patience to produce perfection. Ours is a compromise world of what can be done with the input, and what the customer expects to pay for the service. The problem as always is the gap between expectations of an image viewed on a bright, backlit phone, or monitor, and the hard copy on flat paper. Being able to meet that challenge is one of the main advantages those of us with a public counter, and direct interface with a client, have with online competition. You will have learned this if you have survived in print on demand so far, and are still reading this, that service is as important as price when you are looking at a product that is permanent rather than instant and disposable.
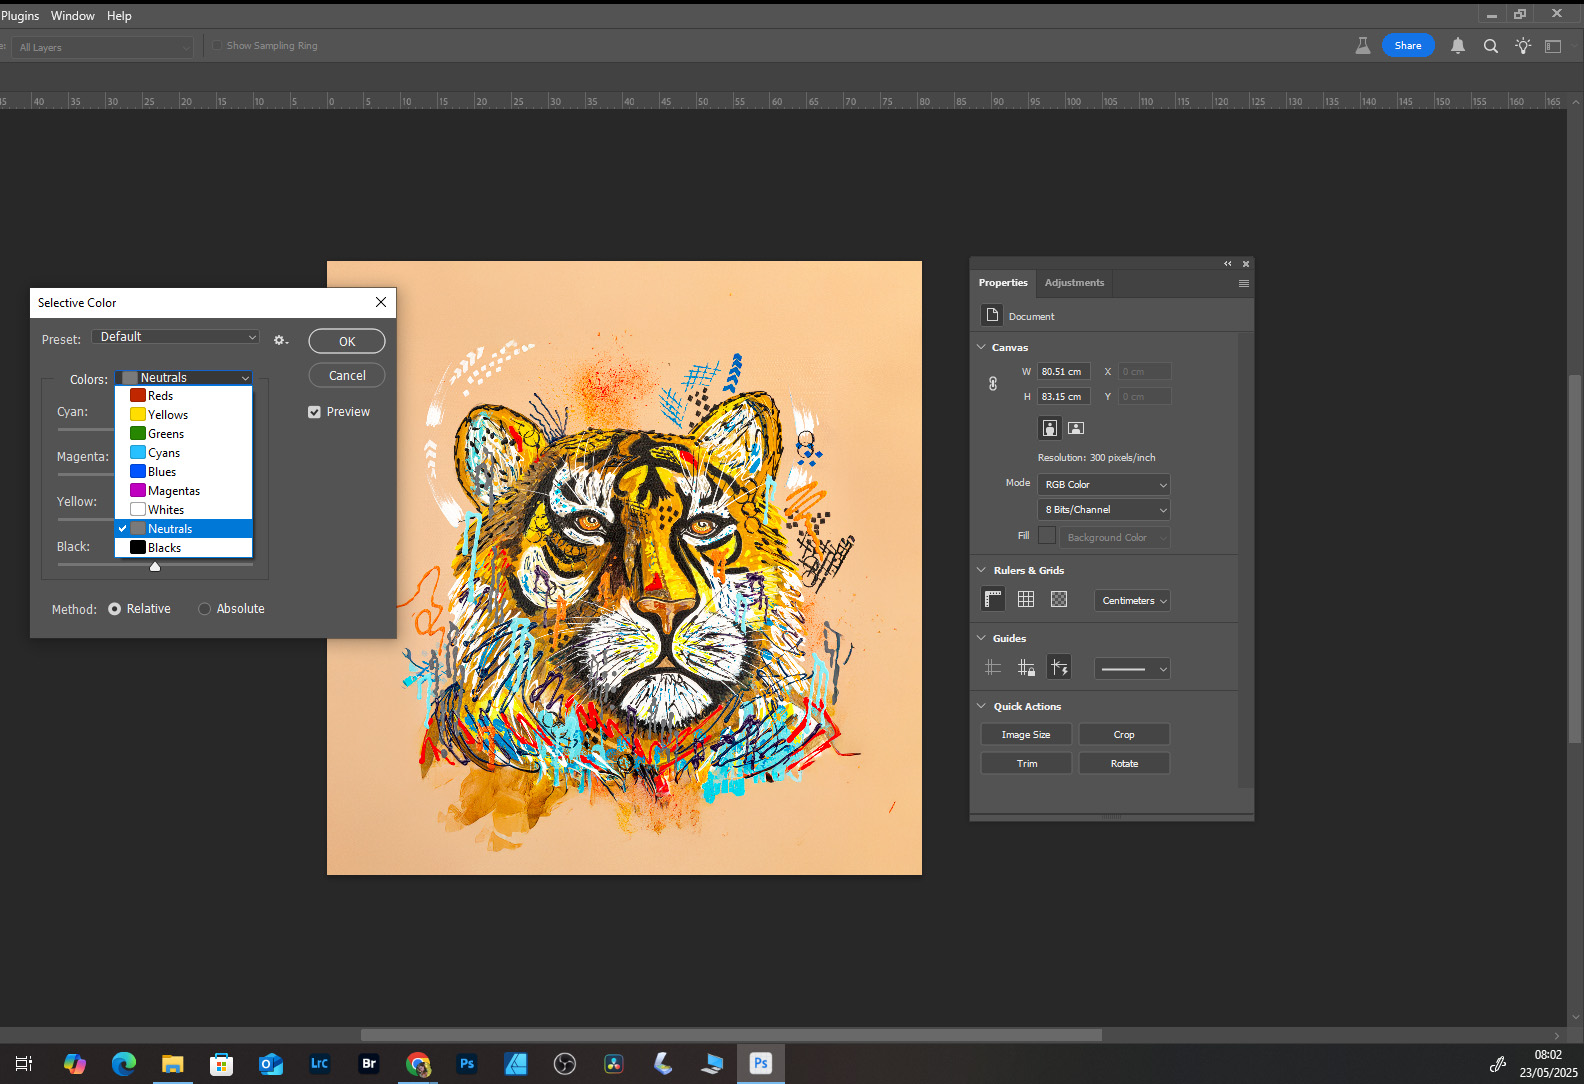
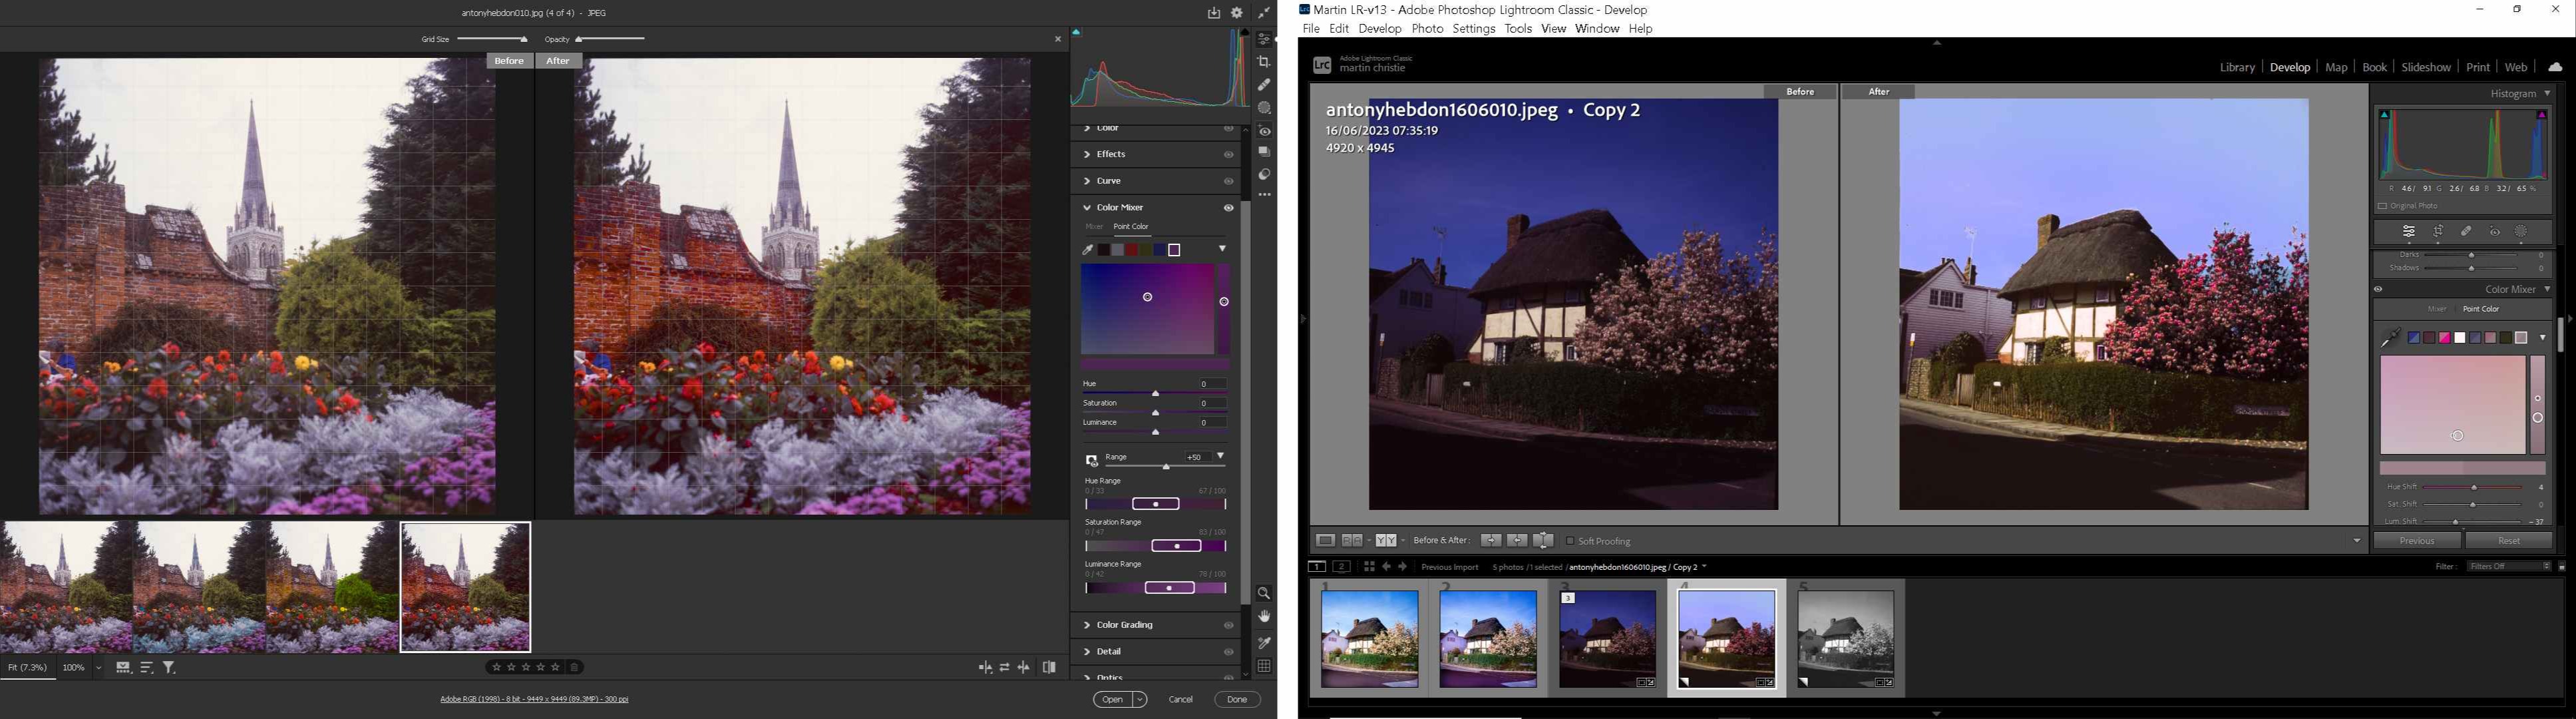
Colour correction used to be a black art in early digital days, but software advantages are making it much easier, and more user friendly. In simple terms it’s making sure that what appears on the screen is as close to what comes out of the printer as possible. Photoshop has always had Selective Colour as an option, but that’s quite a subjective tool as you have to decide which colour, and which amount of saturation within it, to adjust. The safest is usually to work with the midtones, and move the other colours around the greyscale.
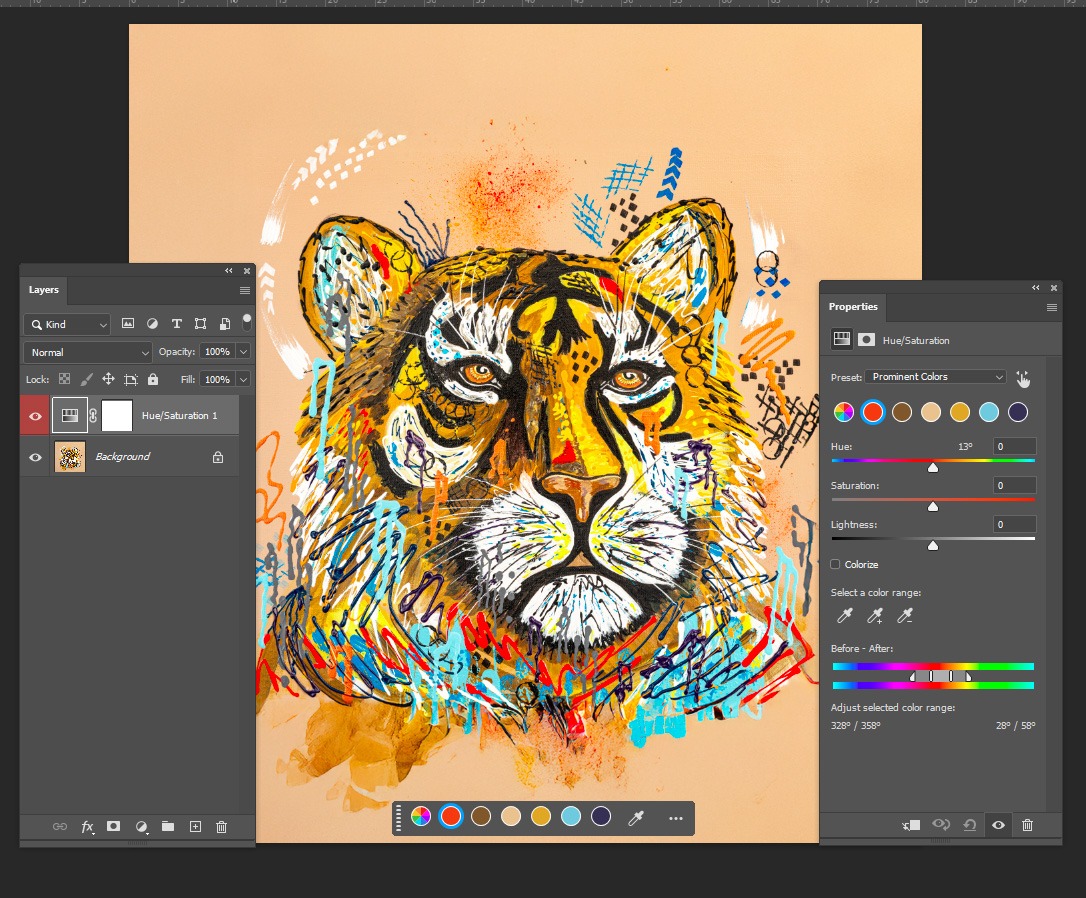
Other selection options have been developed in recent years to fine tune the colour separation, but the AI assisted tool takes it to a new level. It picks the six most prominent colours in an image, and gives you their values, in a very objective way because it is not looking at the colour, but the algorithms beneath it. It doesn’t have to decide whether an image looks a bit too red or too blue because it doesn’t see it - only the numbers below.
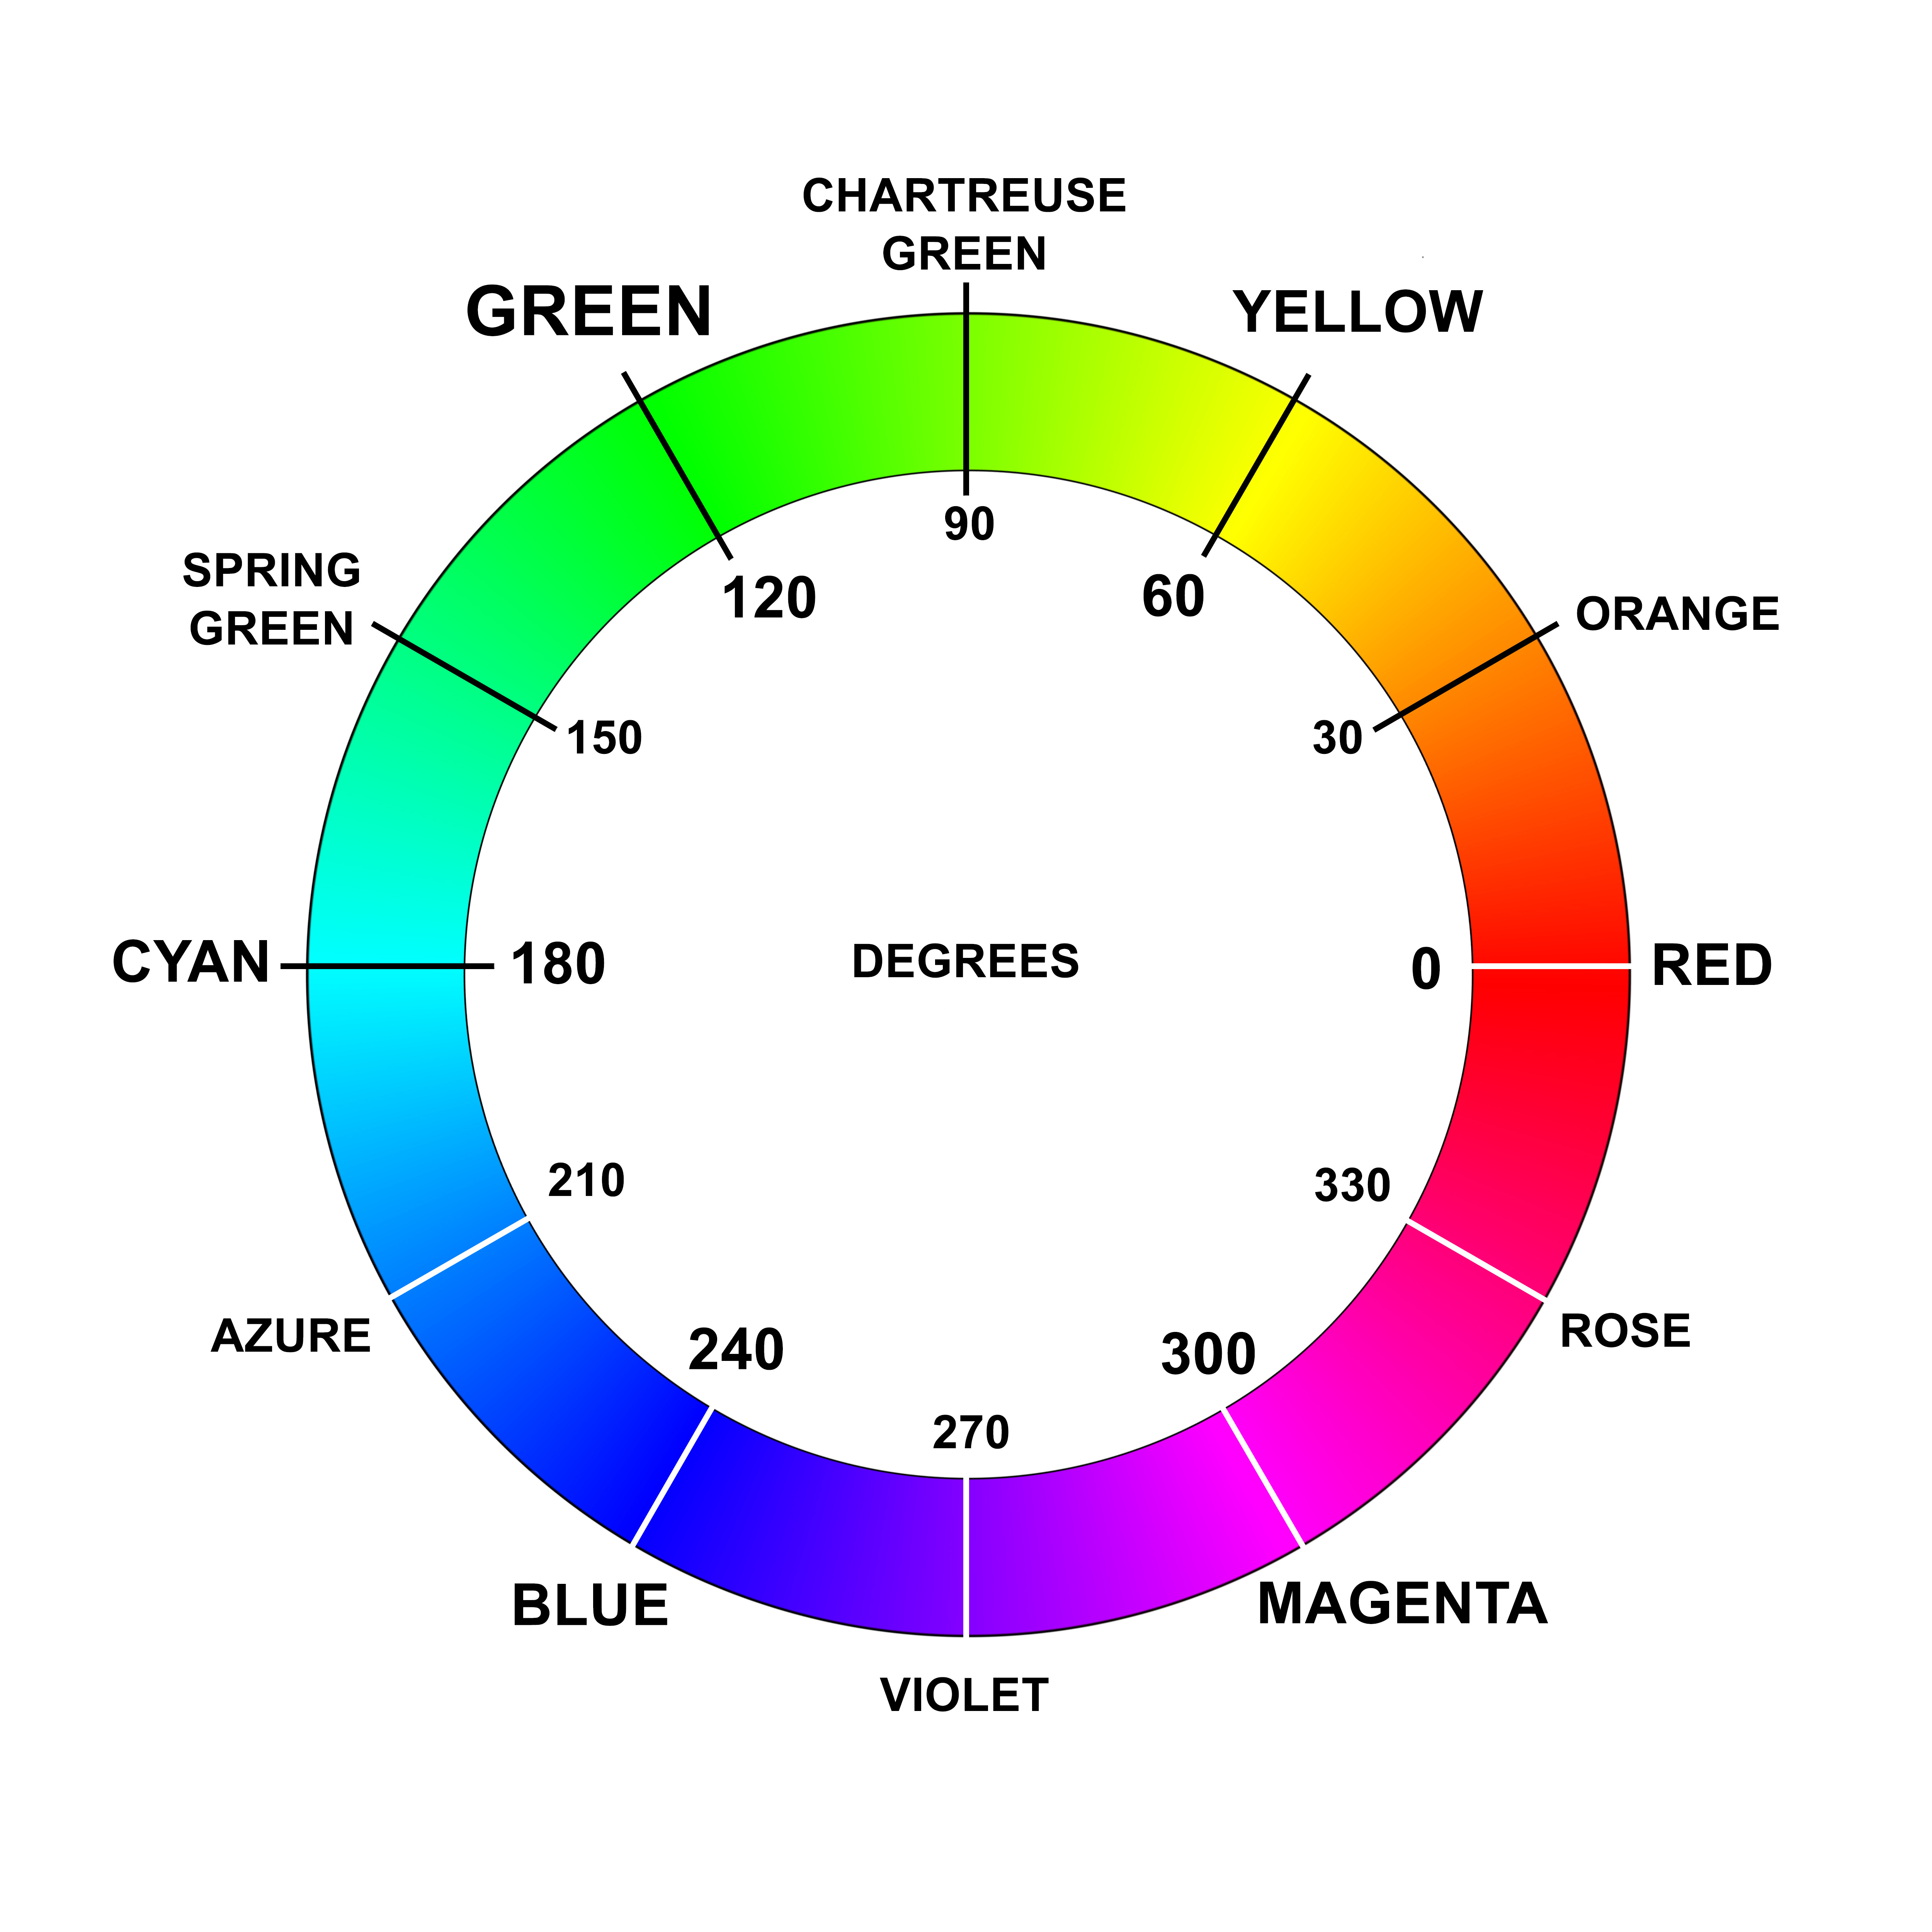
Choosing adjust colour from the Contextual Tool bar gives you a small pallet with the chosen six, plus the option of an eyedropper to pick an alternative. Click on any and you get a fairly basic slider tool, but I’ve discovered that a much better option is to use the Properties information box where you have an additional display with a greater degree of control. As well as the visual colour bars there are increments of degree which correspond to those on the conventional colour wheel. This represents how much a colour shifts from one hue into the next, as well as how one colour balances out its immediate opposite.
You don’t have to completely understand it, but Adobe is now helping you grasp how it works, and why when you take one colour out another creeps in. This is a basic concept in colour print and was true from early days of hard copy. With digital it just gets a little more complicated, but the benefit is a lot more scope for manipulation. Before the technology you could only make overall colour changes, as you could with film. Now you can make changes to individual groups of related pixels.
Apart from colour one of the most common tasks is adding or removing items whether adding bleed, or taking out distracting or unwelcome features. We have had content aware and clever fill options for a while but now we have almost too many choices, with many generative tools to recreate or replace parts of an image. And this is where it can all go horribly wrong if you let AI do all the thinking for you. Always remember it doesn’t really care, and when left to its own devices is nothing more than a sophisticated knee jerk reaction to a stimulus. You need to give it as much help as possible, either in actual typed prompts explaining exactly what you want - sometimes in minute detail - or by giving it a larger or smaller area of selection from which to source inspiration. This was true of content aware if you are familiar with how it worked, and it is more so now with the various generating choices.
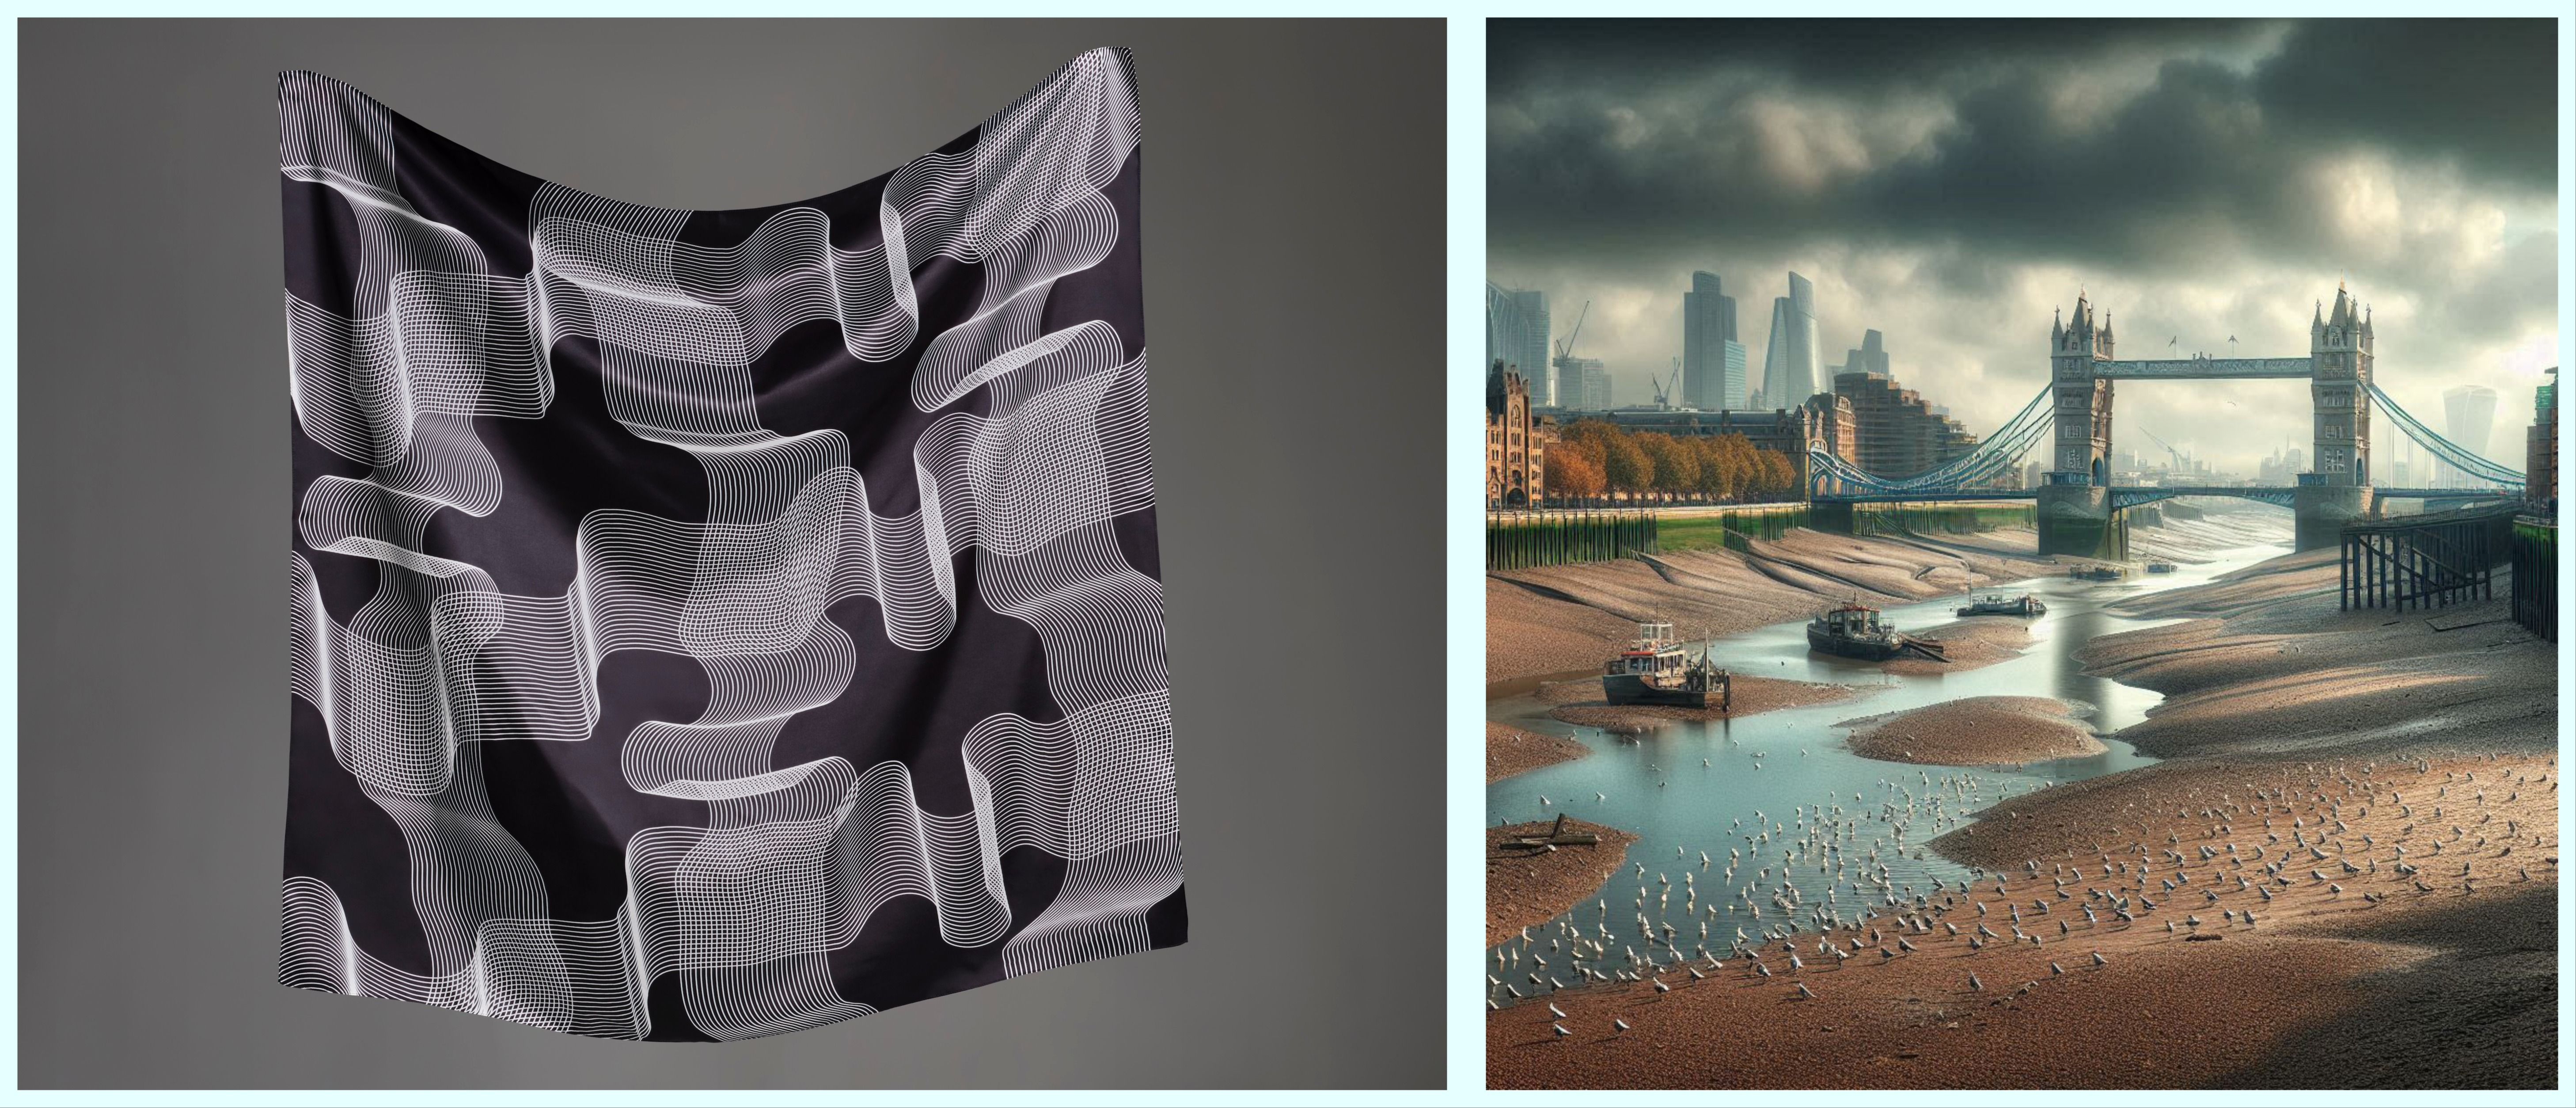
We do get some interesting images to print being in the creative heart of Brighton, so a digital collage of assorted pop items was quite normal, except that the client didn’t want Michael Jackson to be featured in the line up. Being an exceptionally busy image this was a very good test of AI’s new found ability of isolating people and faces from any other inanimate objects. But another time it could be removing an ex partner in a family group, or just a lamp post sprouting out of someone's head.
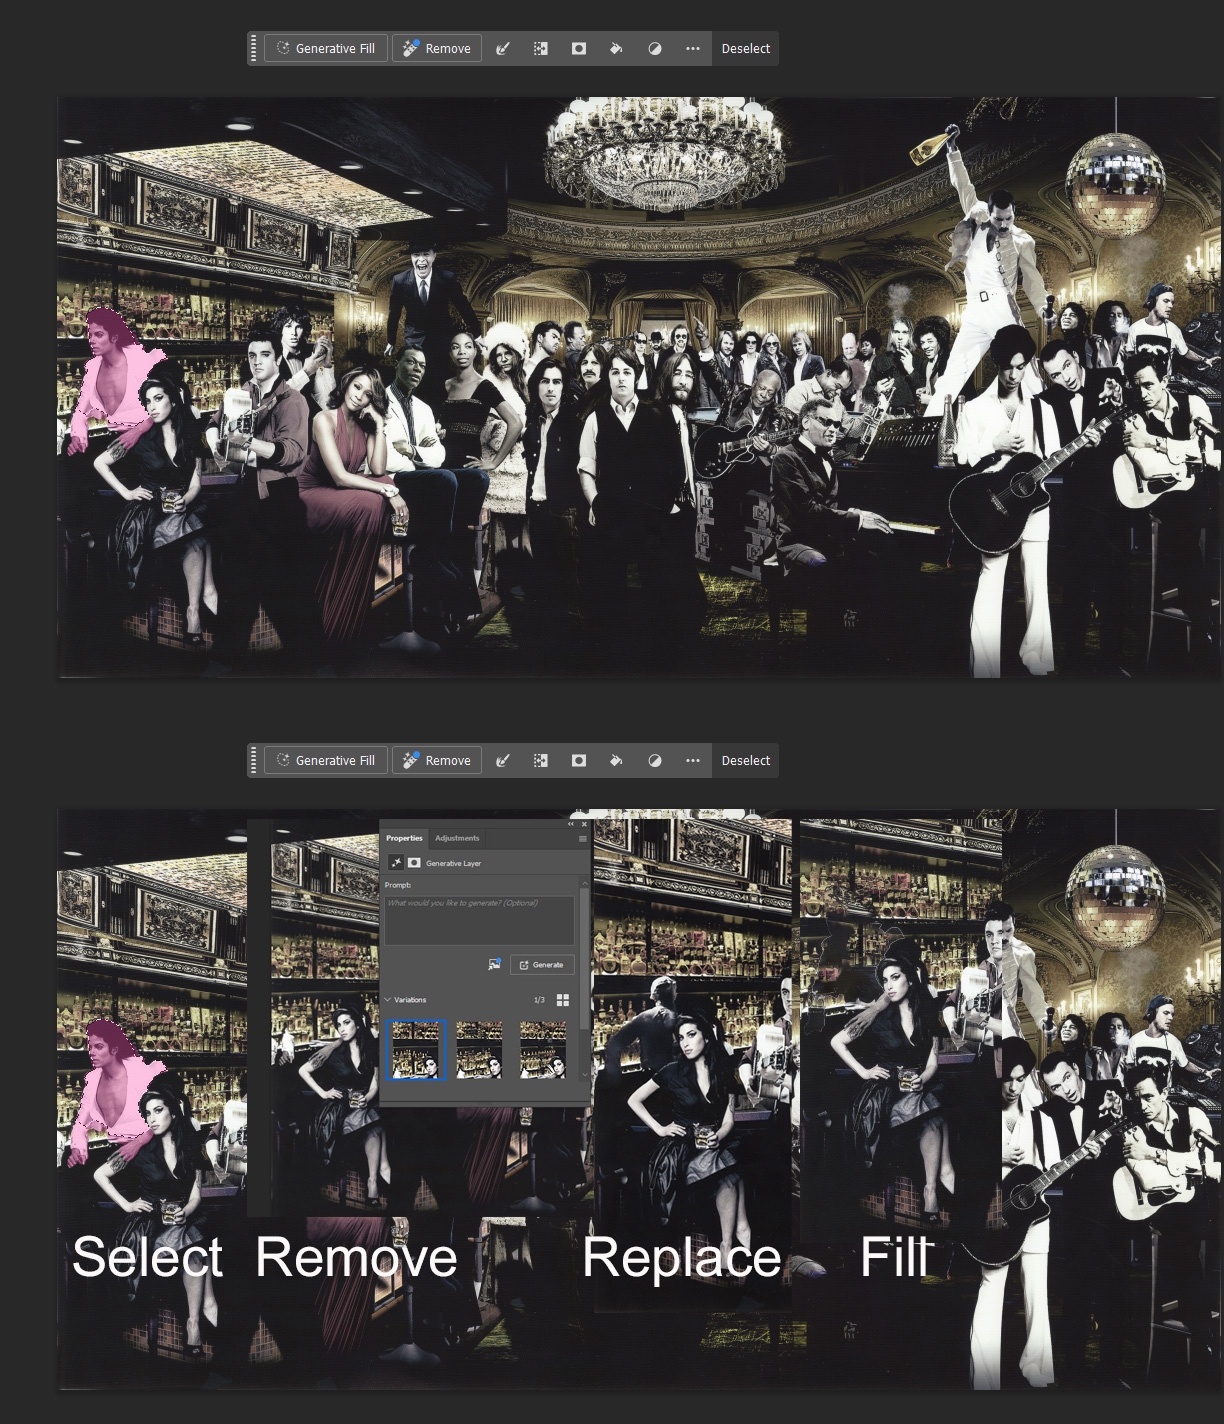
Previously you would have dabbled with the healing brush or clone tool which would have been messy, and the Content Aware selection had a complete meltdown trying to rearrange the pixels and merge them with the shelves and bottles in the background. Several attempts at asking for another face, or head or even complete body proved quite hilarious, and even wildly off the mark, but that is just the way AI works. After a lot of trial and error it did come up with a person option that looked passable as an anonymous country and western singer, or alternatively the back of a working barman. In the end I discovered the Remove tool worked just as well, so it can be a bit of a random operation. I expect with more experience I will be better at second guessing what the computer will produce. But even with all the choices, it’s still quicker and neater than old fashioned copy and paste.
An example of how things can go wrong unexpectedly was one of those jobs that looked simple for a software task that proved anything but. Customer brought in an old toy box cover to be scanned and printed, and being oversized for the scanner needed to be done in two parts and stitched together. Back in the day with Photoshop I would do this manually with layers, lining up the two halves with a combination of changing opacity of the top layer, or just using the Difference blend mode to line up the matching pixels. This could be frustrating if things would not mate perfectly and when Photomerge was introduced into PS it was a life saver to the extent I would rely on it being faultless. Even quite intricate line drawings that were a bit wonky on file would get ironed out to seamless symmetry. So the box cover seemed like the work of moments for computer to sort out, but the lesson is that intelligent software works perfectly - until it doesn’t.
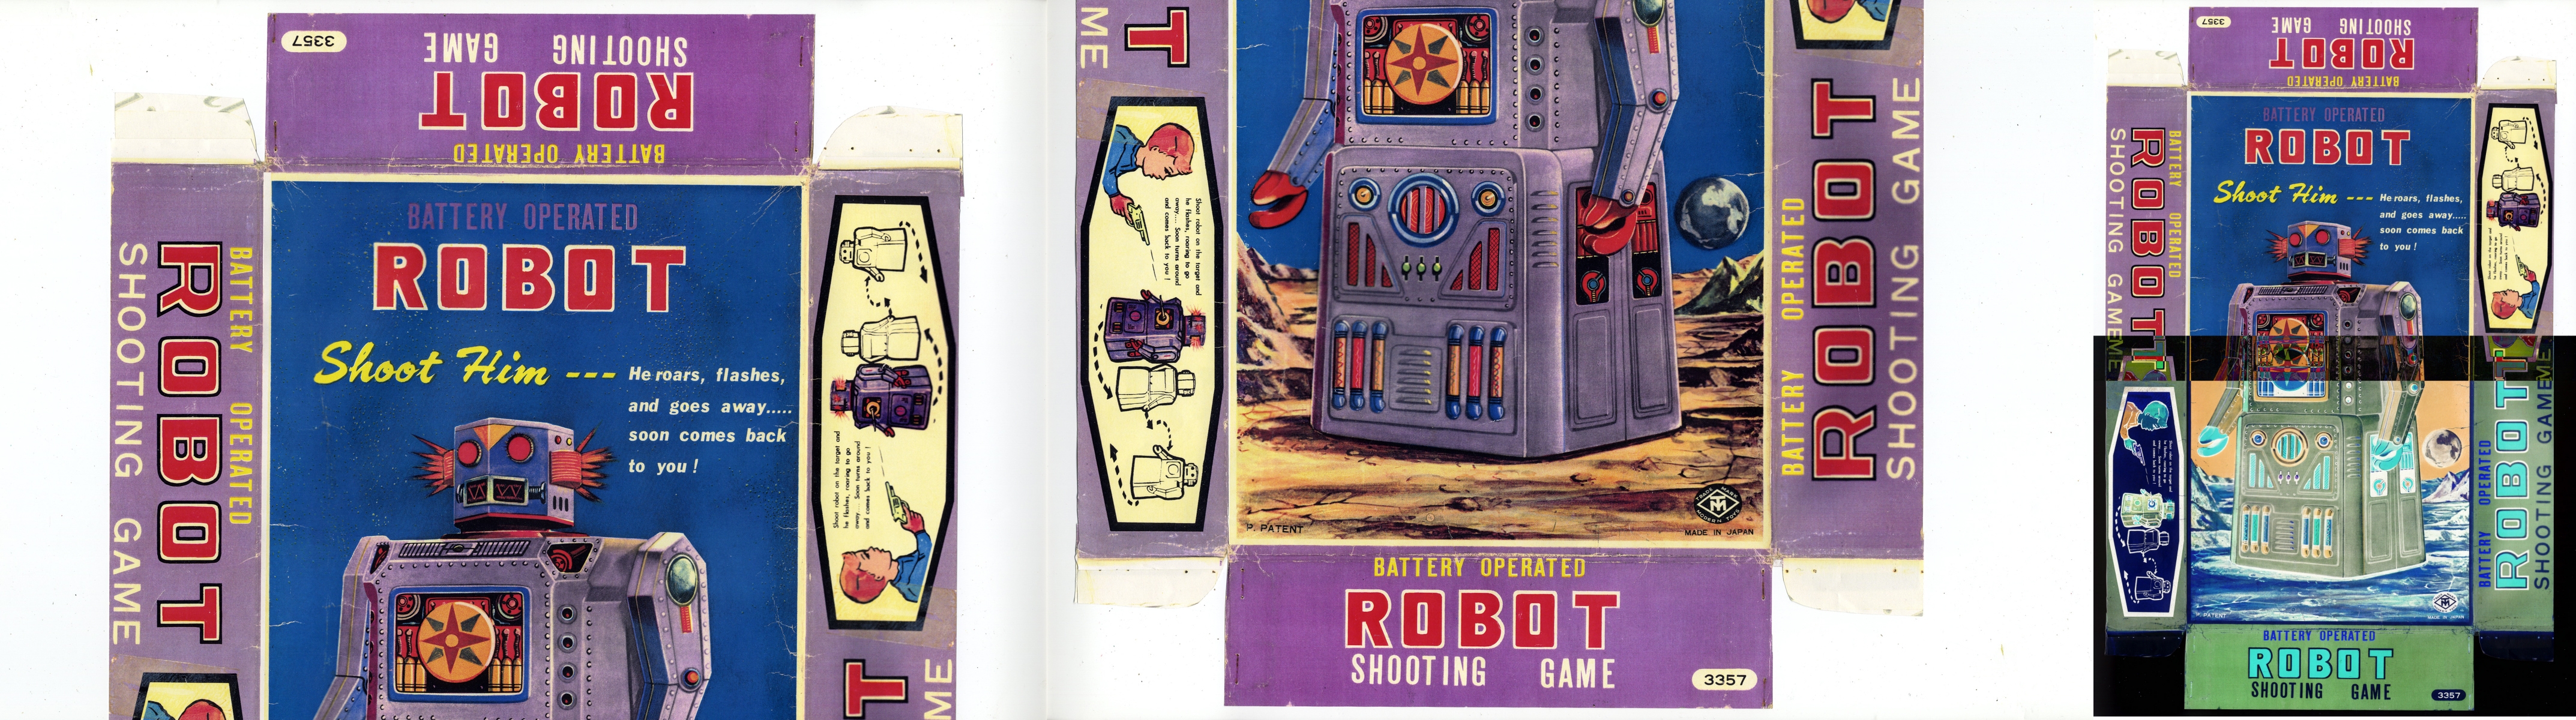
If it decides that two plus two equals three, then that’s just the way of it. It would not automatically join the two pieces to form one perfect one - only place them one on top of the other as if they were identical. We can see they are not, but PS (and Lightroom) couldn’t. Perhaps because there were too many similarities between one half and another as they were part mirror image, there was just too much to compute.
Probably if I had done four scans instead of two it might have spotted the difference - it just needed more information at source, but rather than that it was just quicker to reverse switches to manual and stitch it old school by hand.
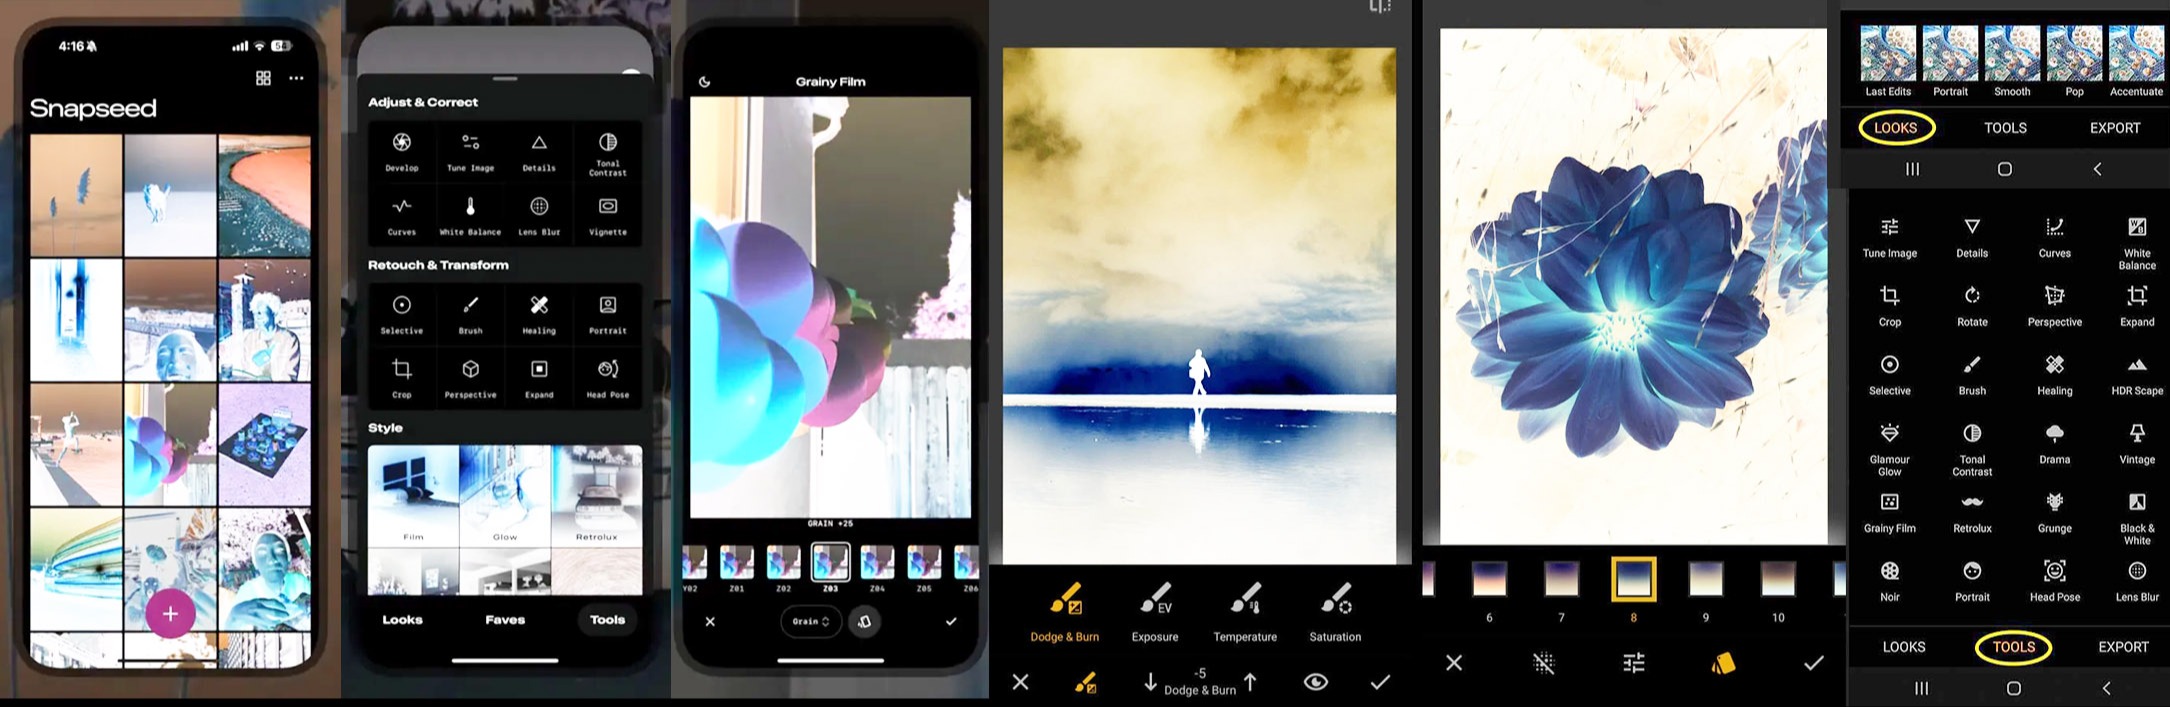
More adventures in pixel next month in the meantime if you want more Photoshop updates including new text and shapes options I can recommend the excellent Julianne Kost.
https://youtu.be/SXVB8X4P2LI?si=WSzkhyf2Zlkqd121
And when it calls to Colour Wheels and much more I go to F64 Academy for no-nonsense sense
https://youtu.be/6An1qzO5L28?si=uuyexOJZeCtjSQjs


.jpg)